Step 1: Planning and Budgeting
1.1 Set Your Budget
Establish a realistic budget by considering the cost of land, construction materials, labor, and additional expenses such as permits, taxes, and utilities.
1.2 Select a Location
Choose a location that aligns with your lifestyle, accessibility needs, and future plans. Key factors include proximity to schools, markets, healthcare facilities, and transportation.
1.3 House Design and Layout
Hire an architect to design the house. Share your requirements, including the number of rooms, bathrooms, and special features such as a terrace or garden. Ensure the design adheres to local building regulations.
Step 2: Acquiring Land
2.1 Conduct a Market Survey
Research different areas to find suitable land within your budget. Compare prices and visit shortlisted plots to assess the location and surroundings.
2.2 Verify Ownership and Documentation
Ensure the plot has clear ownership and is free from legal disputes. Verify documents such as the title deed, sale agreement, and no-objection certificate (NOC) from local authorities.
2.3 Register the Land
Complete the legal formalities by registering the land in your name. This involves paying stamp duty, registration fees, and taxes.
Step 3: Approvals and Permits
3.1 Obtain Building Plan Approval
Submit your house design to the relevant development authority (e.g., CDA, LDA, TMA or DHA) for approval. Pay the requisite fee and address any modifications requested by the authority.
3.2 Utilities Connections
Apply for utility connections such as electricity, gas, and water. This process may require additional documentation and fees.
Step 4: Hiring Professionals
4.1 Architect
The architect will finalize the design and ensure compliance with building codes.
4.2 Contractor
Hire a reliable contractor for construction. Check their portfolio, references, and market reputation. Negotiate and sign a detailed contract outlining timelines, costs, and responsibilities.
4.3 Structural Engineer
Engage a structural engineer to ensure the design is structurally sound and suitable for the soil type.
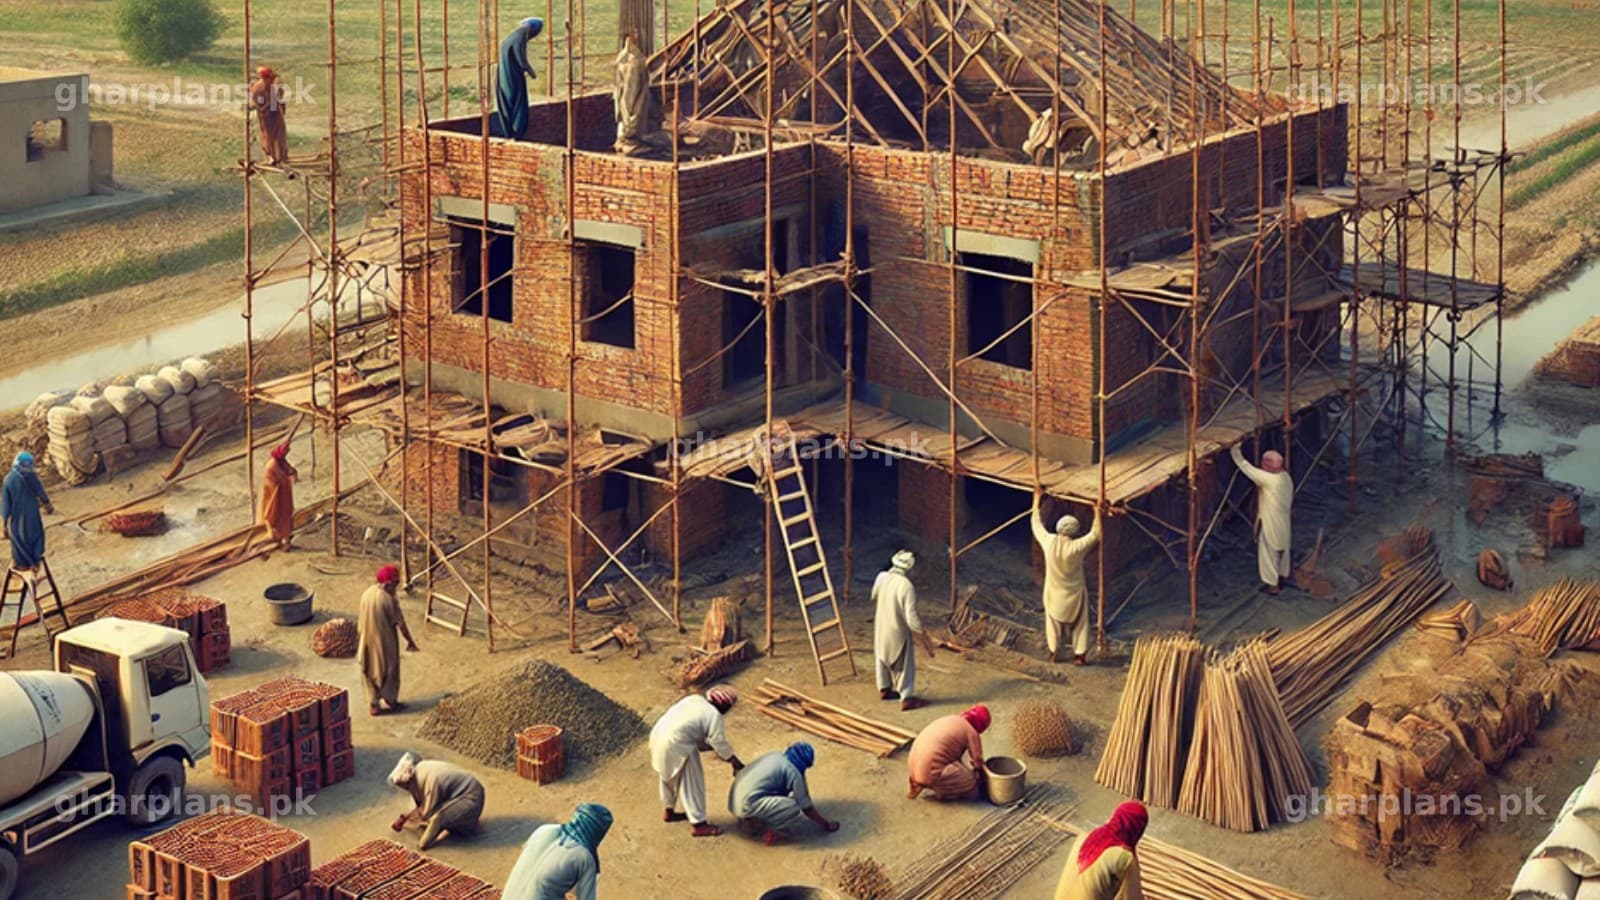
Building a masonry house in Pakistan involves a series of steps, which are aligned with the construction norms, climate, and material availability in the region. Here is a detailed breakdown:
5. Site Preparation
Clearing and Leveling:
Clear debris and vegetation; level the ground if required.
Marking Layout:
Mark the foundation lines as per the approved design.
6. Foundation Construction
Excavation:
Dig trenches for the foundation according to the structural plan.
Soil Compaction:
Compact the soil to avoid settling issues.
Foundation Footing:
Lay concrete footings reinforced with steel rebar.
Foundation Walls:
Build foundation walls using bricks, stone, or concrete blocks with mortar.
Damp Proof Course (DPC):
Apply a waterproof layer above the foundation to prevent rising damp.
7. Superstructure Construction
Wall Construction:
Use bricks or stone masonry with cement mortar.
Ensure walls are plumb and straight.
Allow for openings (doors, windows) as per the design.
Lintels and Beams:
Install lintels above openings to distribute weight.
Place reinforced concrete beams if required.
Seismic Bands (if needed):
In seismic zones, horizontal reinforcement bands may be added.
8. Roofing Apply a waterproofing layer to protect against leaks.
Insulation (Optional):
Install thermal insulation for better temperature regulation.
9. Finishing Work
Plastering:
Apply cement plaster to internal and external walls for smoothness.
Flooring:
Lay tiles, marble, or concrete flooring.
Painting:
Apply primer and paint to walls, considering weather-resistant options for exteriors.
Woodwork:
Install doors, windows, and cabinetry.
Plumbing and Electrical:
Set up water supply, drainage, and electrical systems.
10. External Development
Boundary Wall:
Construct the boundary wall and gate.
Paving:
Lay pavements or driveways around the house.
Landscaping:
Plant trees and grass, if desired.
11. Quality Checks and Final Inspection
Structural Inspection:
Ensure all structural components meet design specifications.
Utility Checks:
Verify that plumbing, electricity, and drainage systems function properly.
Handover:
Finalize documentation and obtain a completion certificate if required.
Common Materials Used
Bricks or Stone:
Locally sourced, often used for masonry walls.
Cement and Mortar:
For binding bricks and plastering.
Steel:
For reinforcement in concrete structures.
Sand and Gravel:
For concrete and mortar.
Wood:
For doors, windows, and roofing (if pitched).
This process may vary slightly depending on local customs, site-specific challenges, and the builder’s expertise.
For further design updates please visit our YouTube Channel: